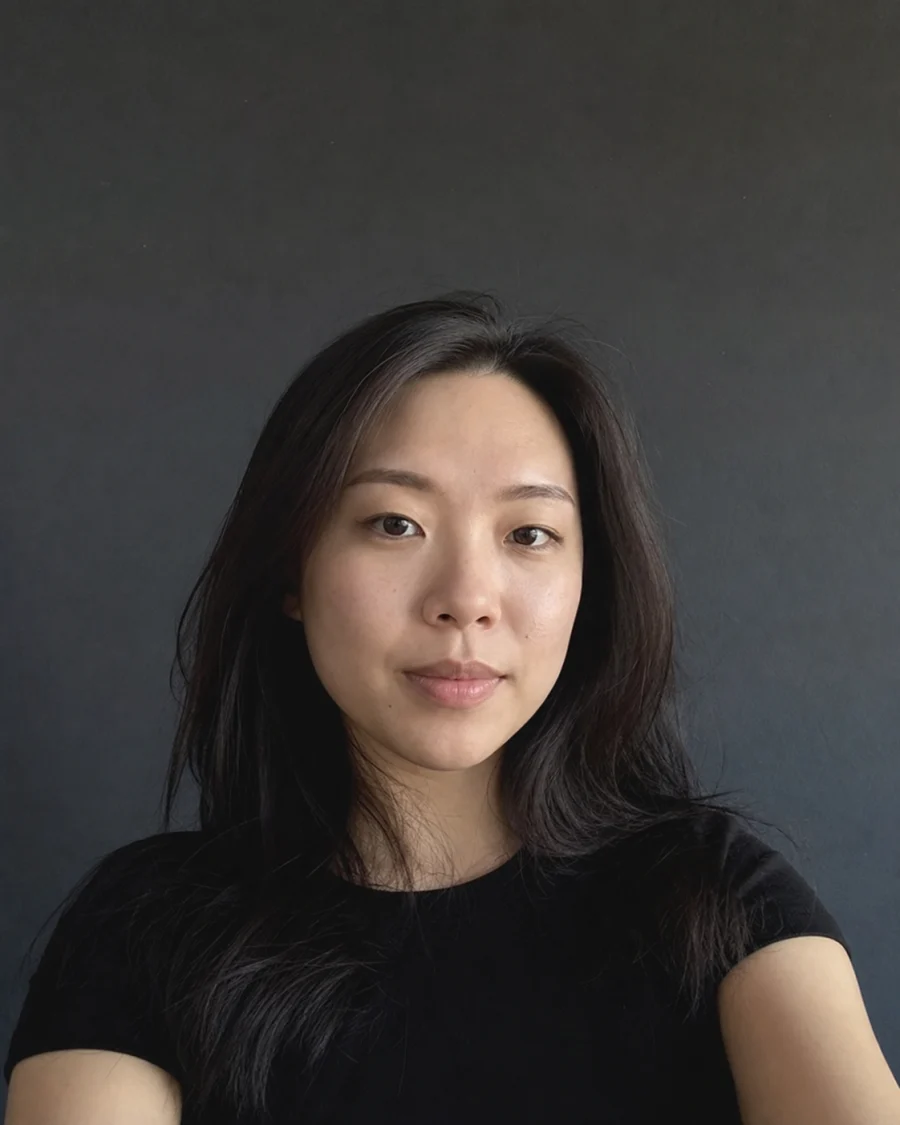
You can take an aura photo in two very different ways: visit a studio that uses specialized biofeedback or corona-discharge equipment, or create an artistic AI aura portrait from an ordinary selfie. This guide explains both routes, then gives you a repeatable photo setup for the online version. The goal is not to prove an invisible field. It is to make a clear, expressive portrait and use color as a prompt for reflection.
First, decide what kind of aura photo you want
The phrase “aura photo” covers several experiences. A studio session may place your hands on sensors and translate measurements into a colored portrait. Traditional Kirlian or corona-discharge photography records electrical discharge around an object placed in a high-voltage field. An online aura photo generator starts with a conventional portrait and adds a designed color field. These methods are visually related, but they do not collect the same input and should not be described as interchangeable.
Choose the route that matches your purpose. Pick a studio when the ritual, practitioner conversation, and physical print matter to you. Pick an online generator when you want a fast creative result, privacy at home, or an image you can easily remake. Neither route should be used for a medical, psychological, or relationship diagnosis. A useful aura portrait is a creative snapshot, not a laboratory result or permanent identity label.
- Studio session: best for an in-person ritual and practitioner-led interpretation.
- Online AI portrait: best for speed, experimentation, and a shareable image.
- Kirlian photography: a distinct electrographic technique, not a selfie filter.
Choose a photo with a readable face
Start with a portrait in which your face is large enough to read without zooming. A head-and-shoulders frame usually gives the generator enough detail while leaving space around the hair and shoulders for the color field. A three-quarter turn can work as well as a straight-on pose. Gentle profiles are often fine when the visible eye, cheek, and jaw are not hidden by hair, a hand, sunglasses, or another person.
Avoid screenshots, collages, heavily compressed social-media downloads, and portraits that have already been filtered. Those files give the system less useful visual information and can produce muddy edges. If your phone offers several versions of a photo, use the original. A simple JPG, PNG, or WEBP is enough; you do not need a studio camera or a transparent background.
Use soft, even light
Stand near a window during the day or face a broad lamp. Soft light keeps the eyes and facial structure visible without creating a hard shadow across one side of the face. Turn off strong colored bulbs for the first attempt. Their hue may be beautiful, but it can compete with the generated palette and make it harder to tell what belongs to the original photo.
Backlighting is the most common problem. If a bright window is behind you, a phone may expose for the window and leave the face too dark. Rotate so the light falls toward you instead. Also wipe the camera lens; a small smear can create bloom that looks atmospheric on screen but becomes distracting once more glow is added.
- Face the light instead of placing it directly behind you.
- Keep highlights on the forehead and cheeks from clipping to pure white.
- Try one neutral-light photo before experimenting with colored lighting.
Leave breathing room around your outline
Aura effects need negative space. If the top of your hair touches the edge or both shoulders fill the entire frame, the glow has nowhere to expand. Step back slightly and keep a margin above the head and beside the shoulders. A vertical 4:5 portrait is a practical starting ratio because it works well on phones and gives the composition height.
The background does not need to be white. A quiet wall, curtain, doorway, or outdoor shade can work. What matters is separation: your outline should not disappear into a background with the same tone and texture. If you have dark hair, a mid-light background is usually easier than a black wall. If you wear a white top, avoid standing against a blown-out white window.
Pick an expression that feels natural
There is no correct “spiritual” face for an aura portrait. A calm expression, open smile, thoughtful side glance, or direct gaze can all produce a strong result. Choose the expression that matches what you want to remember about the moment. Holding a pose that feels theatrical may make the final image look impressive but less recognizably yours.
Take three or four frames rather than dozens. In one, look directly at the camera. In another, relax the jaw and look slightly away. In a third, add a small movement in the shoulders or hands while keeping the face clear. This gives you meaningful variation without turning the selection process into a perfection test.
How to take a Couple aura photo
For a Couple result, use one photo in which both faces are visible and reasonably similar in size. Stand close enough that the image feels connected, but do not overlap faces. A shoulder, embrace, or hand can cross the composition as long as the eyes, cheeks, and jawlines remain readable. Partners, friends, siblings, and family members can all use the format; the image does not need to define the relationship.
If you do not have one good photo together, use a tool that accepts two separate portraits. Match the lighting and crop as closely as possible so one person does not appear dramatically larger or brighter. A Couple aura should be framed as a shared visual story, not a compatibility score. It cannot tell you whether a relationship will work or what another person secretly feels.
Upload privately and review the preview
Before uploading, check the service’s privacy policy. Look for a plain explanation of whether source photos are stored, whether generated images are retained, and whether customer photos are used for model training. AuraPhotoAI processes the source image for generation and does not store that source photo. A finished card is saved only when a signed-in user deliberately chooses to keep it in the Daily Aura journal.
Review the free preview before paying for anything. Confirm that the face still resembles you, the glow does not cover important features, and the palette feels visually balanced. If the portrait fails, change the source photo rather than repeatedly asking the same weak input to produce a different answer. Better light and more space usually help more than a more complicated prompt.
Read the colors as prompts, not verdicts
A color meaning can be useful when it opens a question. For example, a blue family may suggest clarity or calm expression, while a rose family may suggest warmth and care. Those associations are shaped by language, culture, personal memory, saturation, brightness, and context. A responsible reading makes that uncertainty visible rather than claiming that one hue proves a fixed personality trait.
Notice placement and combination as well as individual names. A dominant color may set the overall tone, a secondary color may complicate it, and a smaller accent can add contrast or movement. Then ask what feels relevant today. You are allowed to reject an interpretation. The image should support your reflection, not override your experience.
Troubleshoot a result that does not look right
If the face looks blurred, start again with the original high-resolution photo. If the aura is cramped, use a wider crop. If the image feels flat, increase separation between your clothing and the background. If the colors seem too intense, choose a source with more even exposure instead of applying a desaturation filter first. Each fix addresses a visible input problem and is more predictable than guessing at hidden causes.
Treat reruns as art direction, not as repeated tests of your “real” aura. Different source images can produce different visual stories because the light, pose, background, and image model all change. That variation is expected. Save the version that feels expressive and technically clean rather than assuming the last or most dramatic result must be the truest one.
- Muddy face: use the original file and brighter frontal light.
- Crowded glow: crop wider and leave room above the head.
- Unbalanced Couple image: match face size, light, and camera angle.
- Meaning feels wrong: keep the art and discard the interpretation.
A five-minute aura photo checklist
Set up beside a window, clean the lens, and place the phone at eye level. Make a vertical frame with space above your hair. Take one direct portrait, one relaxed three-quarter portrait, and one natural-expression portrait. Choose the clearest original, open the generator, and look at the preview before deciding whether to keep a full result.
That is enough. You do not need special clothing, crystals, a white room, or a particular mood. The strongest input is simply a clear image that feels like you. When the finished portrait arrives, use the palette as a visual journal entry: date it, write one sentence about the moment, and return later if you want to notice patterns without treating them as measurements.
The useful takeaway
To take a good online aura photo, prioritize a clear face, soft light, simple separation, and room for the glow. To choose between online and studio aura photography, decide whether you value convenience and creative control or an in-person ritual. To interpret the result responsibly, keep the language reflective and the claims modest.
A well-made aura portrait can be playful, beautiful, and personally meaningful without pretending to diagnose you. That boundary is not a weakness; it is what leaves room for your own context. If you are ready, choose a portrait using the checklist above and create a free preview before you commit to keeping anything.
Sources and method notes
We distinguish peer-reviewed evidence, historical practice, and AuraPhotoAI editorial interpretation. These links let you inspect the basis directly.
- AuraPhotoAI Color SystemOur versioned meanings, evidence labels, and interpretation limits.
- Color–emotion associations across 30 nationsPeer-reviewed evidence that broad patterns coexist with cultural variation.
- Image modulation in corona discharge photographyA 1976 Science paper on physical variables that change Kirlian images.